 |
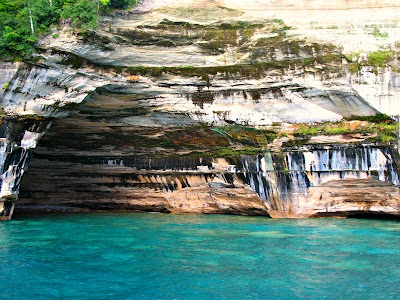
| Rainbow Cove at the Pictured Rocks Natl Lakeshore in Munising, Mi |
This week was all about taking
photos of landscapes. The photo above was featured in
Picaboo's blog with the best of the week! I admit, some of these photos weren't actually taken this week, but they lend great examples of the theme along with the ones I did take this week!
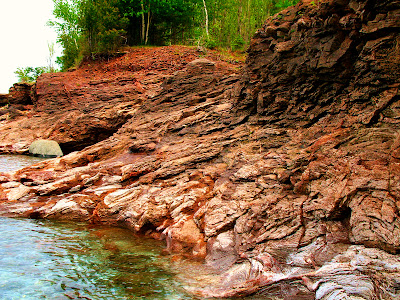 |
| Red rock outcrop in Marquette, MI |
 |
| Slag beach at the mining ghost town in Fayette, MI |
It should seem easy enough, but taking a quick shot of some pretty scenery doesn't always lead to a pretty photo. You'll want to keep an eye on a few key items to get a great shot. Watch your horizon; nothing ruins a great photo like a slanted horizon. This can be fixed in post-processing depending on your software but it's so much easier to get it right the first time. Turn on your camera display's grid lines (usually an option in the menu) to help you line up your shot. Consult your manual if you don't know how.
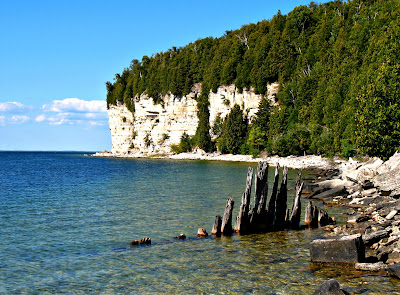 |
| Limestone cliff and old pilings at Fayette, MI |
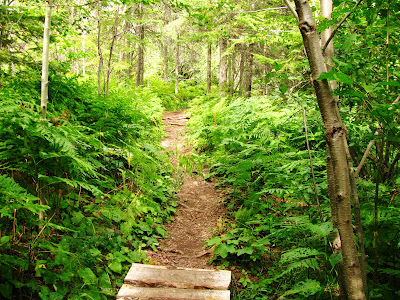 |
| A hike in the woods, Hunter Point Park in Copper Harbor, MI |
Pick a focal point. Look for something interesting to focus your camera on. Use
leading lines, a tree, rock outcrop or other interesting feature to draw your viewer's attention and make them feel like they are there with you. Try capturing a sense of movement if you can: waves on the beach, wind in the trees etc. You can also create an interesting focal point by using
creative angles. Take a photo looking straight up a cliff face, from a high vantage point, or from the side. Be creative!
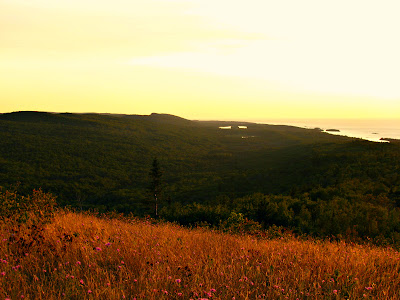 |
| Golden light at sunset on top of Brockway Mtn in Copper Harbor, MI |
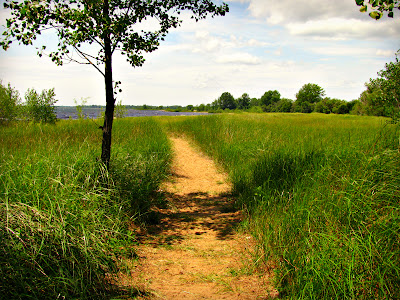 |
| Trail to the beach in Escanaba, MI |
This isn't listed in the
Picaboo tutorial but keep in mind your time of day. Early morning and evening give softer lighting and create a more "dreamy" look. Bright, direct sunlight gives crisp angles and dramatic shadowing. The best midday lighting is on a partly cloudy day, when the clouds act as a natural light diffuser.
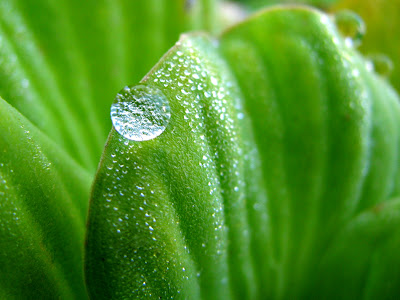 |
| Drop of dew on water lettuce |
For week 32,
Picaboo had a tutorial on resizing your photos to look better on Facebook and also had a challenge of showing size in your photos. My photo above was featured in
Picaboo's Blog featuring the best of the week!
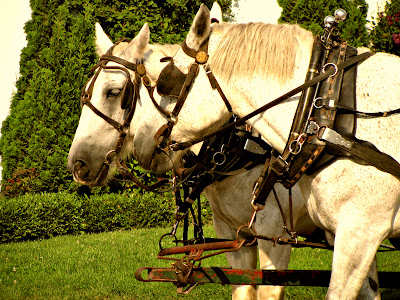 |
| We went to Mackinac Island and I loved taking photos of all the horses! |
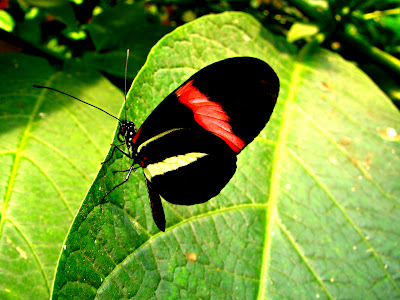 |
| An exotic Red Postman butterfly at Mackinac Island's Butterfly House. |
I don't really have a tutorial to go over with you since resizing your photos specifically for Facebook has nothing to do with photography in my opinion. As for showing size, you really can interpret that however you wish and I know not all my photos this week show it. My favorite way is through macro photography. I love making tiny details larger than life (such as the tiny drop of dew). If your camera has a macro setting, it will be a flower icon on a button. If you have a dSLR, you need a macro lens depending on how close you want to get.
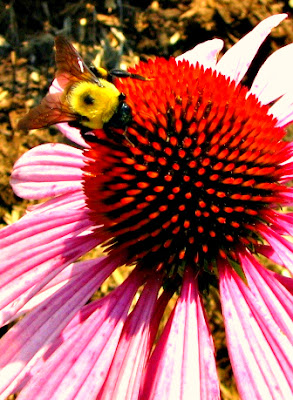 |
| Busy bee on a purple cone flower |
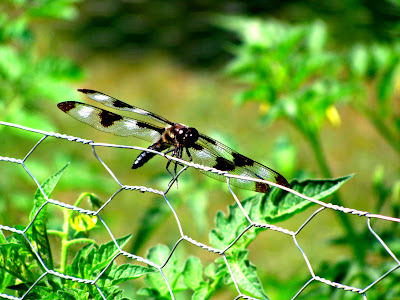 |
| I needed a lot of patience and good timing for this flitting dragonfly! |
You can also show size using dramatic perspective. Make a tree or other tall object look gigantic by taking a photo close to the trunk and look up or there's your classic "look I'm holding up a mountain" pose that you see in family vacation photos. Have fun with it!
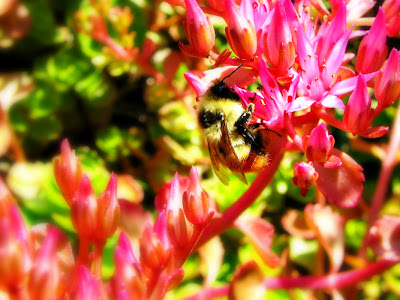 |
| Another busy bee this time on my sedum flowers |
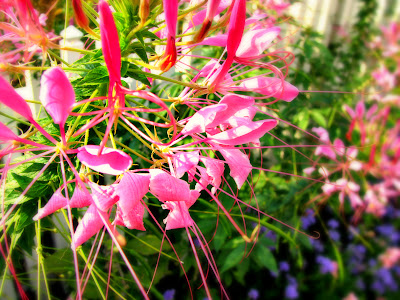 |
| I have no idea what this flower is but it's gorgeous! |