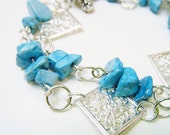
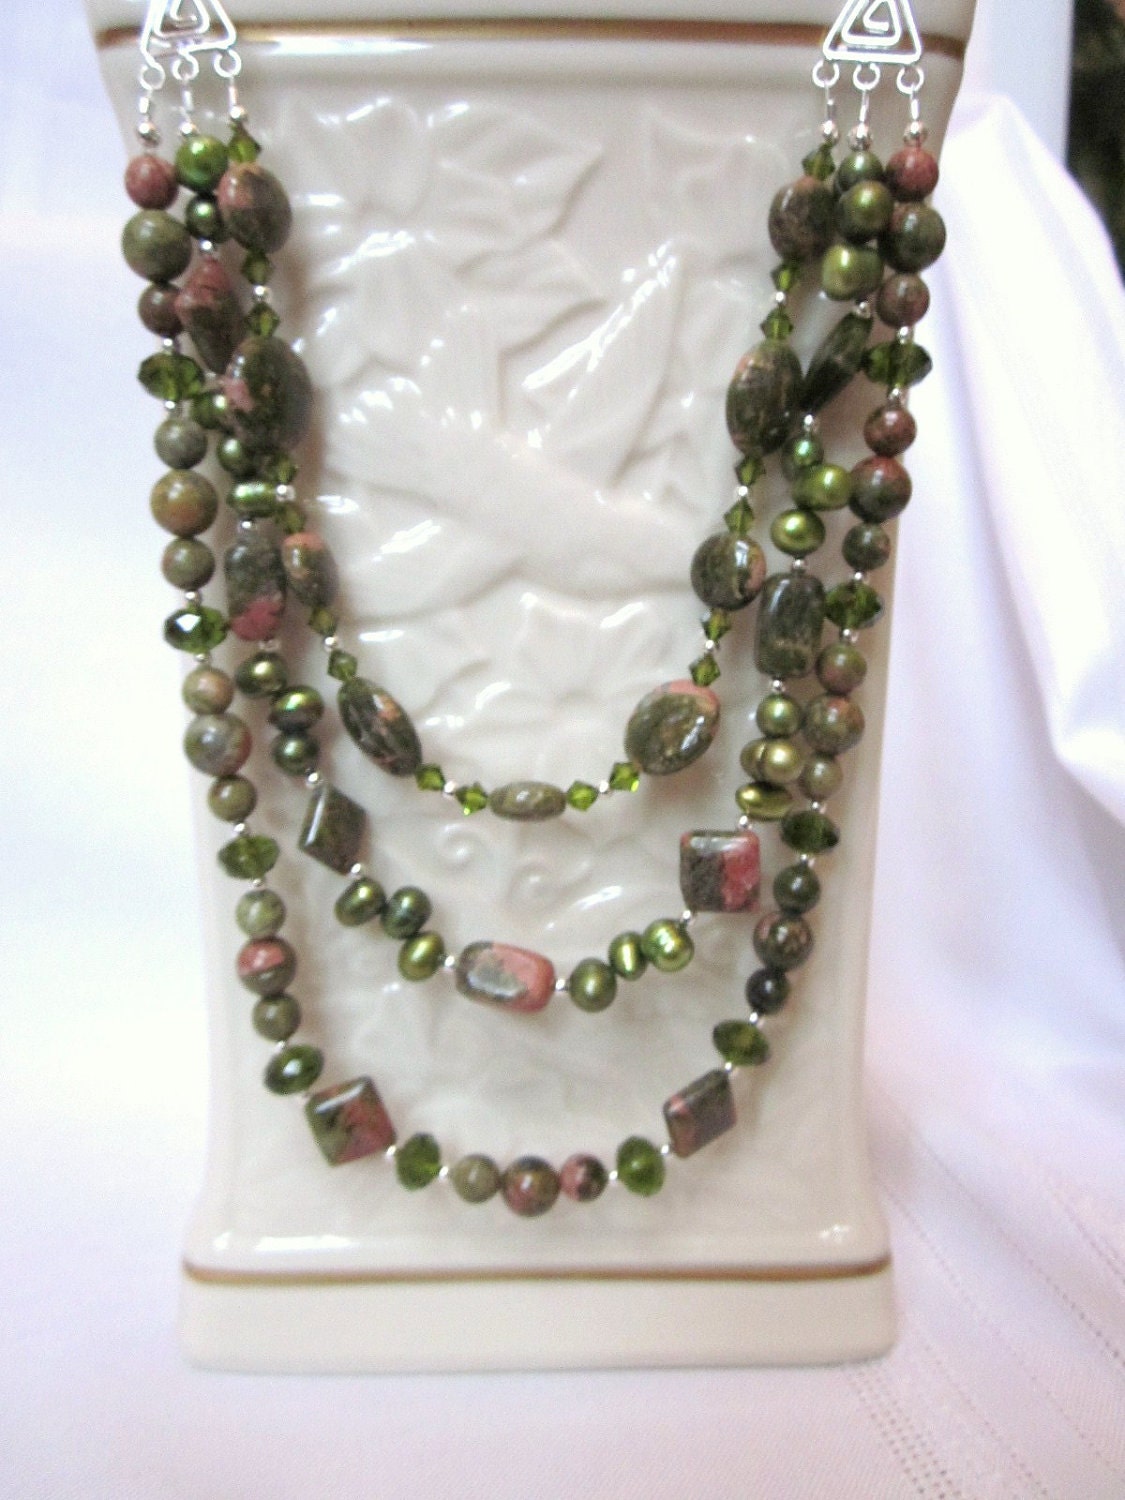
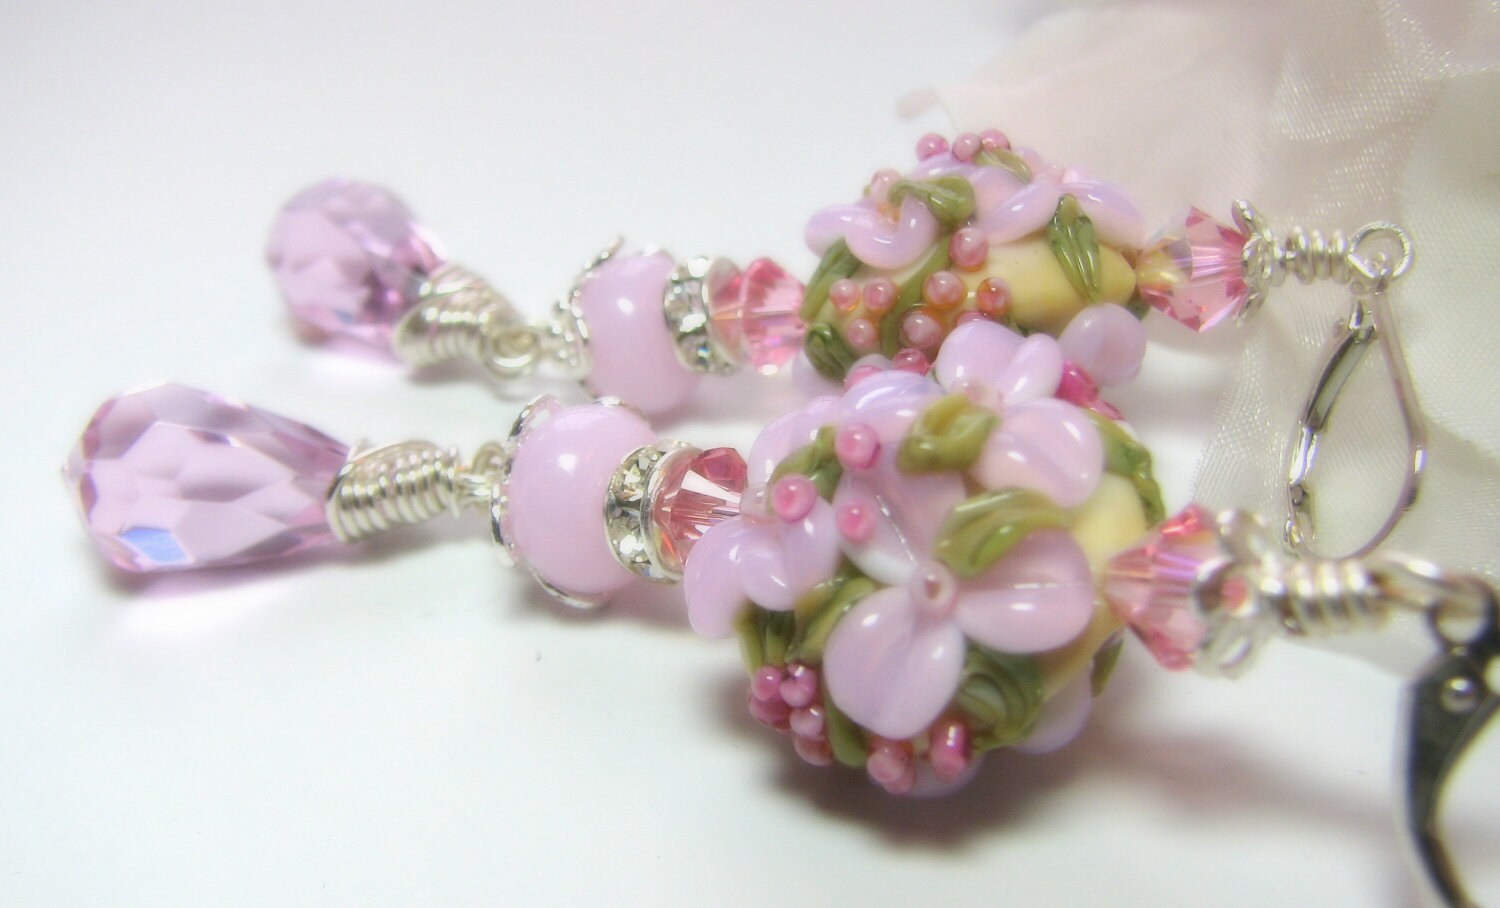
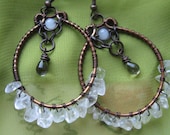
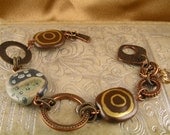
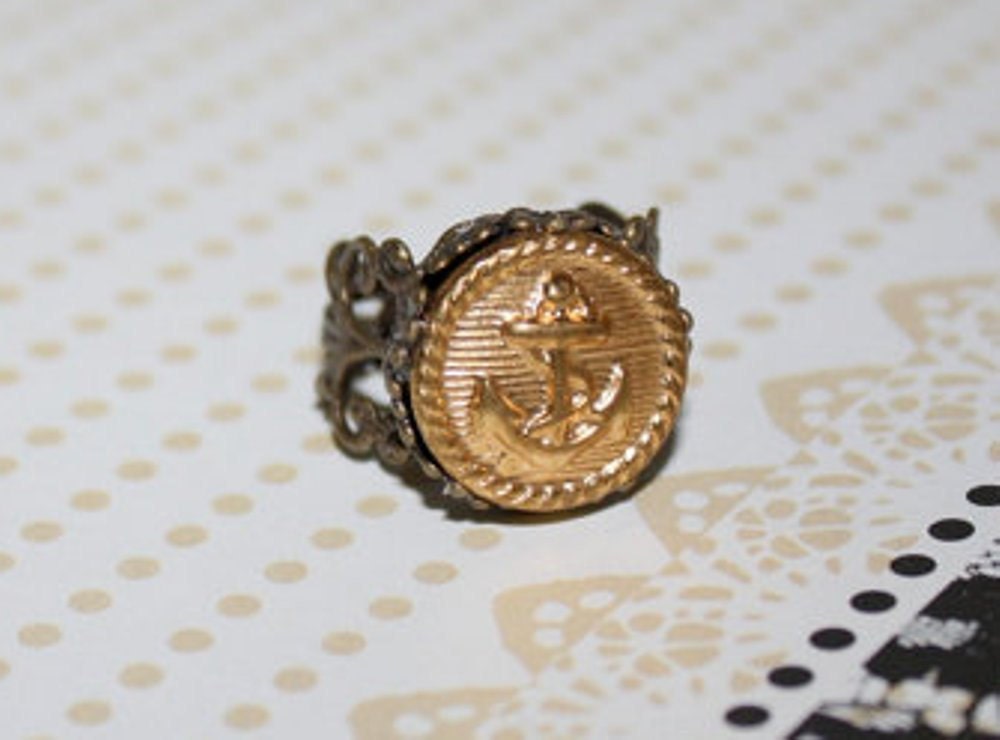
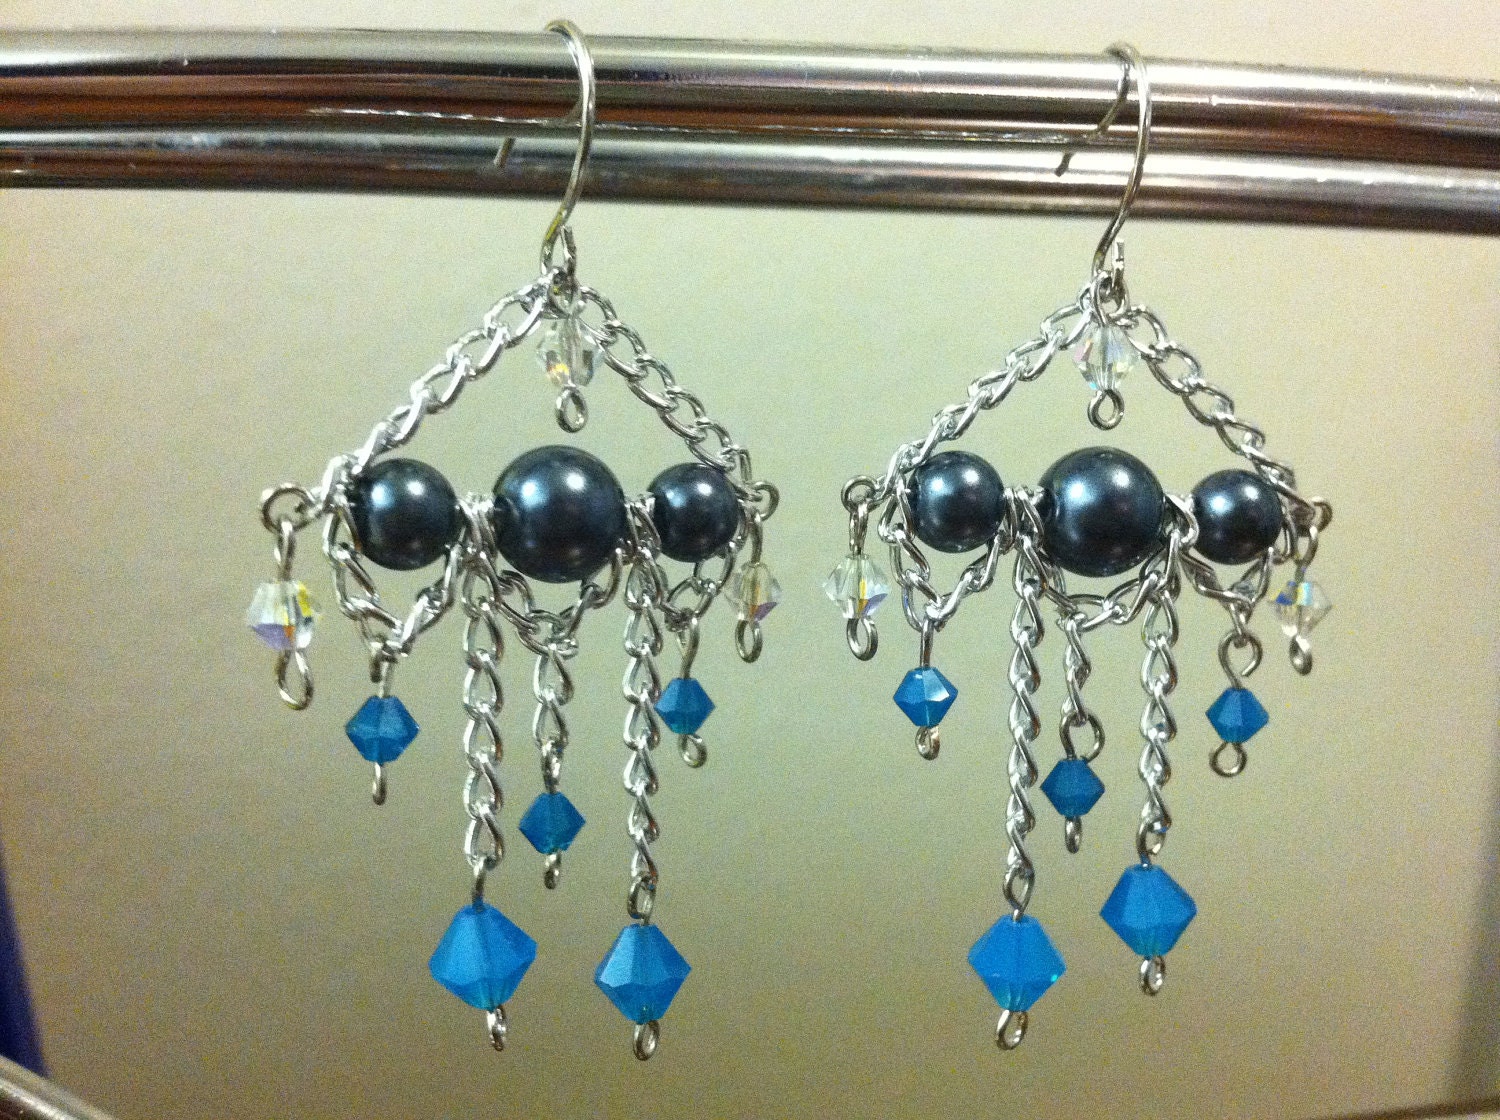
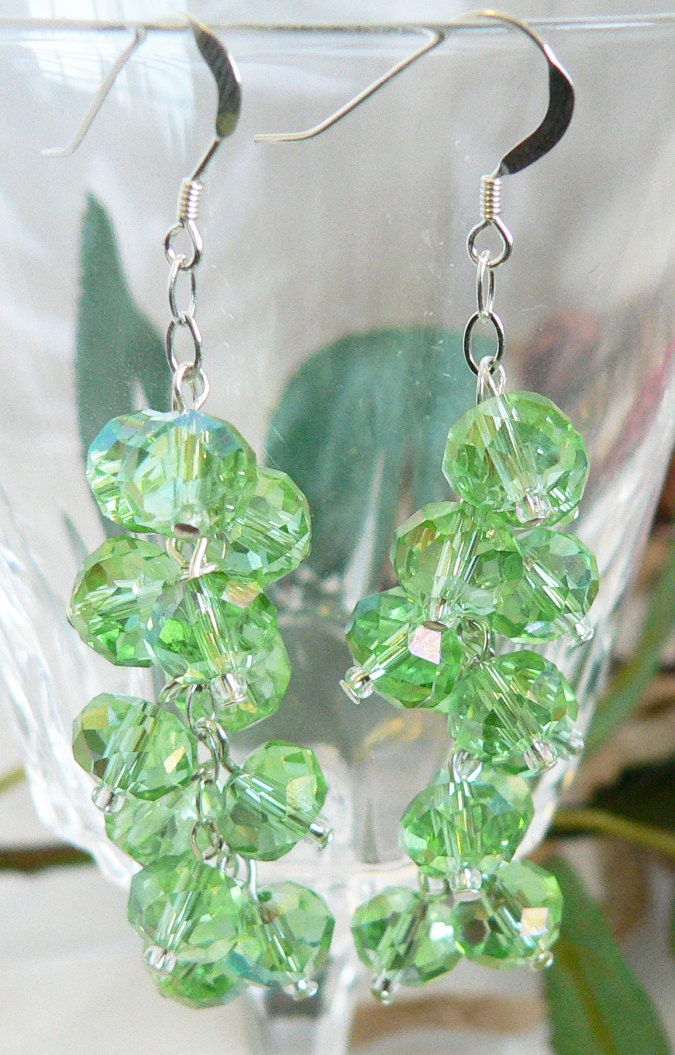
Ok your product photos are totally awesome after reading about how to make them awesome. Now how do you make your product speak to your buyer? It's not as hard as you may think. Besides the usual size, color, yadda yadda about your item, you should try and make a point to explain why your customer should buy it. This is most essential if you sell products that aren't necessary to daily life, such as jewelry or home decor for example. I'm not saying you should sound like some infomercial, but to list a few examples: you can state a few blurbs why you love it, why other customers love it, alternate uses for it, and /or what inspired you to make it to help you relate and connect with your buyer. Adding a little "meat" to your item descriptions also makes makes you appear more human. Obviously you are (you are, right?), but it proves you put a lot thought into your design and that there is a hardworking artisan behind the product so lovingly photographed in your shop. Plus, people like to hear a story!
This same idea should also apply to your "about me" page profile. With the handmade market, customers love to know the back story on the artisan and it's just as important as a good product description. Telling your story appeals to your potential customer and they will feel more connected to you and therefore more likely to buy from you! You can check out my Etsy profile for an example and here's a great blog from Etsy about writing a good back story. Make sure not to write a novel but some basics to mention in your profile would be:
This same idea should also apply to your "about me" page profile. With the handmade market, customers love to know the back story on the artisan and it's just as important as a good product description. Telling your story appeals to your potential customer and they will feel more connected to you and therefore more likely to buy from you! You can check out my Etsy profile for an example and here's a great blog from Etsy about writing a good back story. Make sure not to write a novel but some basics to mention in your profile would be:
- Why did you decide to open you shop?
- What inspires you?
- What do you do for a "day job" if you have one?
- What type/style of product do you mostly sell?
- Have you had schooling for your craft?
- Where can customers find you locally (local shops, craft shows, and so on)?
- You can also mention your blog, photo sharing profile, pintrest profile, etc
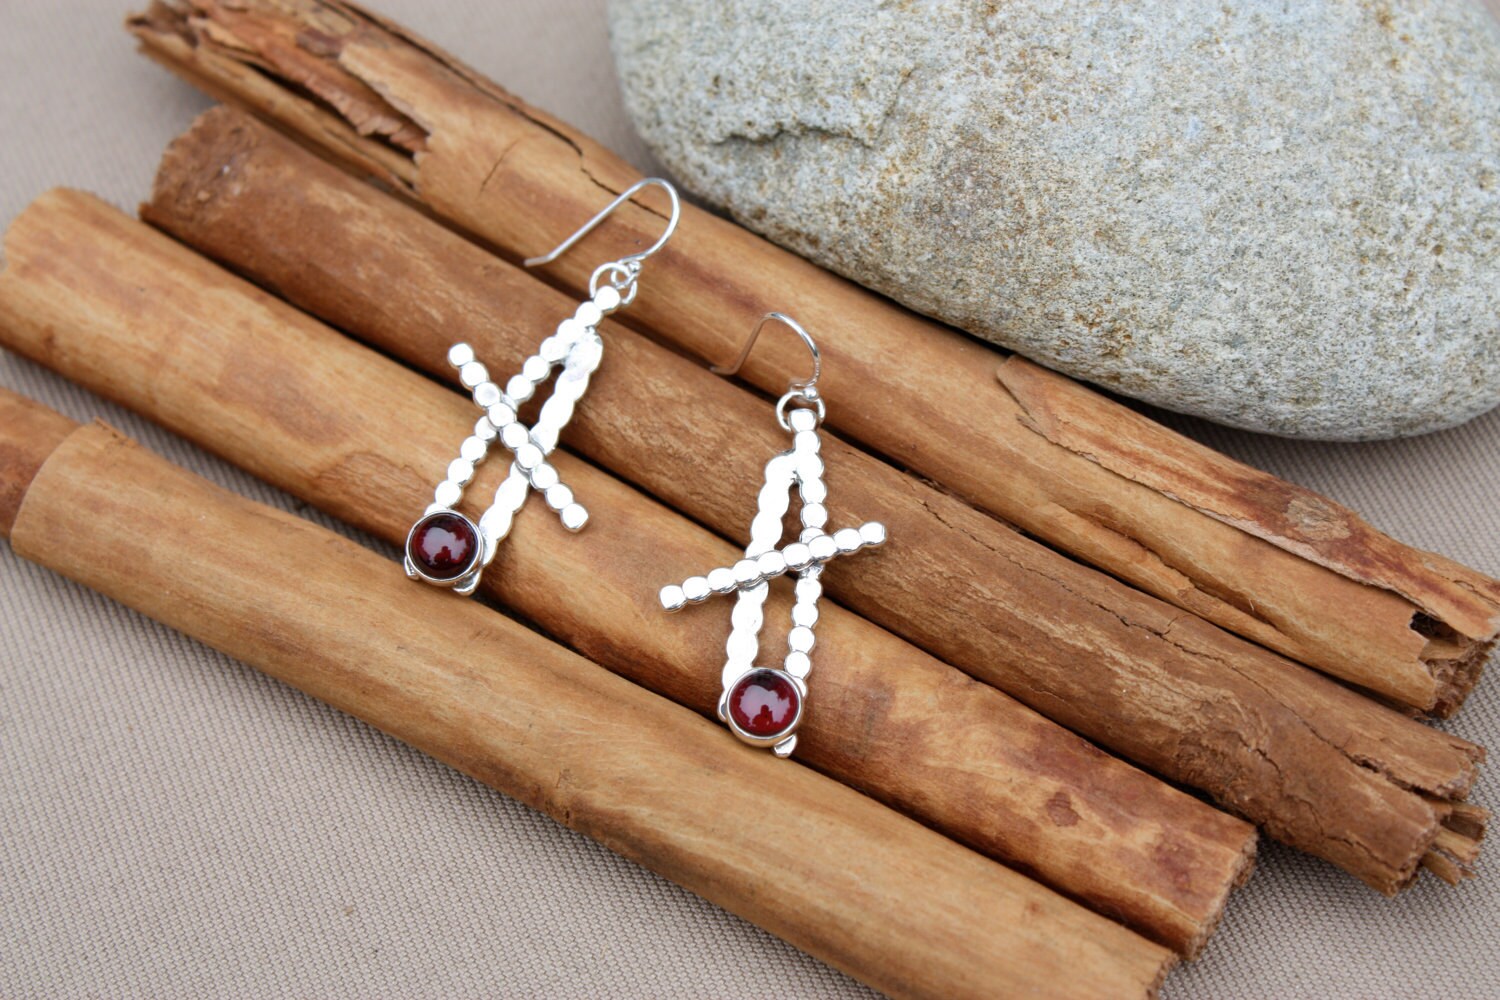
Sometimes it also helps me to think like a buyer when writing new product descriptions. That sounds obvious, I know, but sometimes it helps to take a step back and list a few reasons why you would purchase your own product. Did you use some kind of special material or technique? Does part of your profit go towards charity? Would those earrings you made look stunning in a little black dress? Does it appeal to a particular style or personality (goth, feminine, earthy, fantasy, etc)? These are all great things to mention about your product if they apply. Also, take a peek at any handmade items you have purchased online recently. Why did that item appeal to you vs other similar ones you could have purchased instead? I'm sure one factor was a good product photo, but look at the descriptions. Was it because they spoke to you?
As part of my recent shop renovations that never seem to end, I've been re-writing my descriptions to make them easier for customers to read. The was nothing really "wrong" with what I had before, it's just that the information was hard to find since people tend to skim descriptions rather than read. Breaking up the information puts all the important stuff in an easy to find place and is more visually appealing as well. Lets take a look at one example of my Chain and Flower Earrings.
 |
| Chain and Flower Earrings |
Description Before:
These exquisite little bell shaped flowers add a feminine touch to the lengths of copper and brass plated chain in these pretty chandelier earrings. I topped each of the Czech glass flowers with vintage style copper caps and then attached them along the length of copper chain in the middle. These pretty little treasures are approx 2” from the bottom of the brass plated fish hook ear wire and about a ½” wide. All parts of these earrings are nickel and lead free and the chain/findings are plated in either antique finish copper or brass. Earrings come with clear rubber flower shaped earring backs.
Description After:
The little bell shaped flowers add a feminine touch to the lengths of copper and brass plated chain in these urban chic earrings. I topped each of the Czech glass flowers with vintage style copper caps and then attached them along the length of copper chain in the middle. I love the urban meets vintage charm in these loveable earrings!
- Measure 2” from bottom of hook and ½” wide approx.
- Fish hook style earrings
- Metal is copper or brass plated
- Nickel/lead free
- Come with clear silicon earring stoppers
Before, everything was in one big paragraph, making it hard to find information about the size and materials. I also didn't put too much thought into using good keywords for search engines to pick on, although there's actually several useable keywords in there. The first sentence or two are the most important for search engines since that's what is shown in the summary for the link's description and should be packed with keywords. I didn't actually change too much for the after version in terms of information. I kept most of my keywords in the first sentence such as bell shaped, flowers, feminine, copper, brass, earrings and I added urban chic since it describes the style. All those terms are something that a customer would possibly search for and also accurately describe the earrings. the big change lies in the bullet-ed items. I picked the important facts from the original description and made them easy to find when skimming the text. For Google relevancy, make sure your keywords in the first sentence match the keywords in your title. For Etsy relevancy, make sure your keywords in your title also match some of the keywords in your tags.
See, a little info goes a long way. In the three quick sentences I wrote before the bullets, the customer can see that the earrings are: feminine with an urban touch, vintage style, they have bell shaped glass flowers (in the actual listing I also have the three color options under the bullets and listed in the title), they're loveable, and they have dangling chains. That's much more interesting than just stating general facts about the item!
I'm hoping this has been helpful to you as it has been for me! I'm always learning new things to help my shop get more traffic and sales! Here's an Etsy post on writing descriptions and here's another great reference from Handmadeology on how to freshen up your shop and get found!


